


Prerequisites
If you haven't read Part 1 yet, go do that now!
At this point in the series, my hope is that you now have a very high-level sense of what you might want to achieve with your homelab, and are generally aware of the steps you'll be taking to get it up and running.
Additionally, you should either have your desired hardware or have acquired access to a VPS or virtual machine of your liking. I'll make the assumption that you're using your own hardware from now on (true to the spirit of homelabbing); if you're not, use your best judgement on what parts might need to be tweaked or ignored for your particular case! To reiterate, my intention is to give a framework to build up your own intuition of how all of this works, instead of giving a step-by-step guide.
The Hypervisor
Great, so now you have some hardware that's ready to do things. Let's install the software that it needs!
Since we'll be installing multiple virtual machines, we need a main operating system to help manage all of them. Proxmox is my tool of choice, due to its wide support, included web interface, and the fact that it's free and open source. But under the hood, Proxmox is basically just a souped-up version of Debian, so if you really wanted to get dirty you could get all of its functionality by installing the right things on a basic Linux instance.
Installation
Installing Proxmox is extremely similar to the way you'd install any other operating system. If you haven't installed Linux before, feel free to take a quick intermission and refresh yourself on the installation process.
Proxmox can be installed via live USB like any standard Linux distro. Just make sure to flash it in DD mode, not ISO mode! If you're using a GUI application like Rufus, there should be a visible toggle to change this.
Once you boot up your server with the Proxmox live USB, the GUI will walk you through the process for the most part. Here are a few important notes to keep in mind as you click through the prompts.
Make sure that you record the root password! If you forget the password, you'll need to start over. When logging in, the default username is root and the password is the one you set.
Domains
Proxmox is best used when you have a publicly addressable domain name (like bencuan.me). I would strongly encourage you to purchase one using your favorite provider (Namecheap, Porkbun, and Cloudflare are a few I have used before and have had good experiences with); it's only around $10 per year. You can even get a free .me domain if you're a student! Of course, you can still use Proxmox with a local domain only (conventionally ending in .local)- you'll just need to manually configure your DNS to resolve this in a later step if you wish to go this route.
It's fine if you're not familiar with how domains work right now- just acquire one, and we'll do lots of fun stuff with it later.
When the installer prompts for the domain, be careful since the subdomain will automatically become the hostname of the machine! For example, using the domain turtle.bencuan.me will set the hostname of the machine to turtle. Changing the hostname afterwards is possible but it's best to avoid it since it can be a hassle.
Post-installation
After installation completes, a message in the console should prompt you to connect to the web client, and provide some instructions on how to do so:
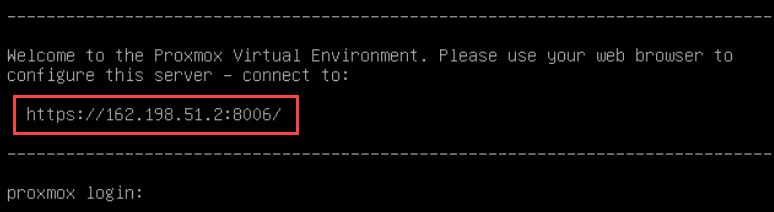
If this message does not appear, check to make sure that the pveproxy service started correctly (using systemctl status pveproxy and/or journalctl -xe).
You may also need to enable virtualization in your BIOS if you have not done so already. For AMD CPUs, this setting is called SVM Mode or something similar; for Intel CPUs, it might be called "VT-X", "Intel Virtualization", or something similar. You should refer to your particular motherboard model's manual if you can't find it, since each manufacturer may call it something different.
Navigating the Web Client
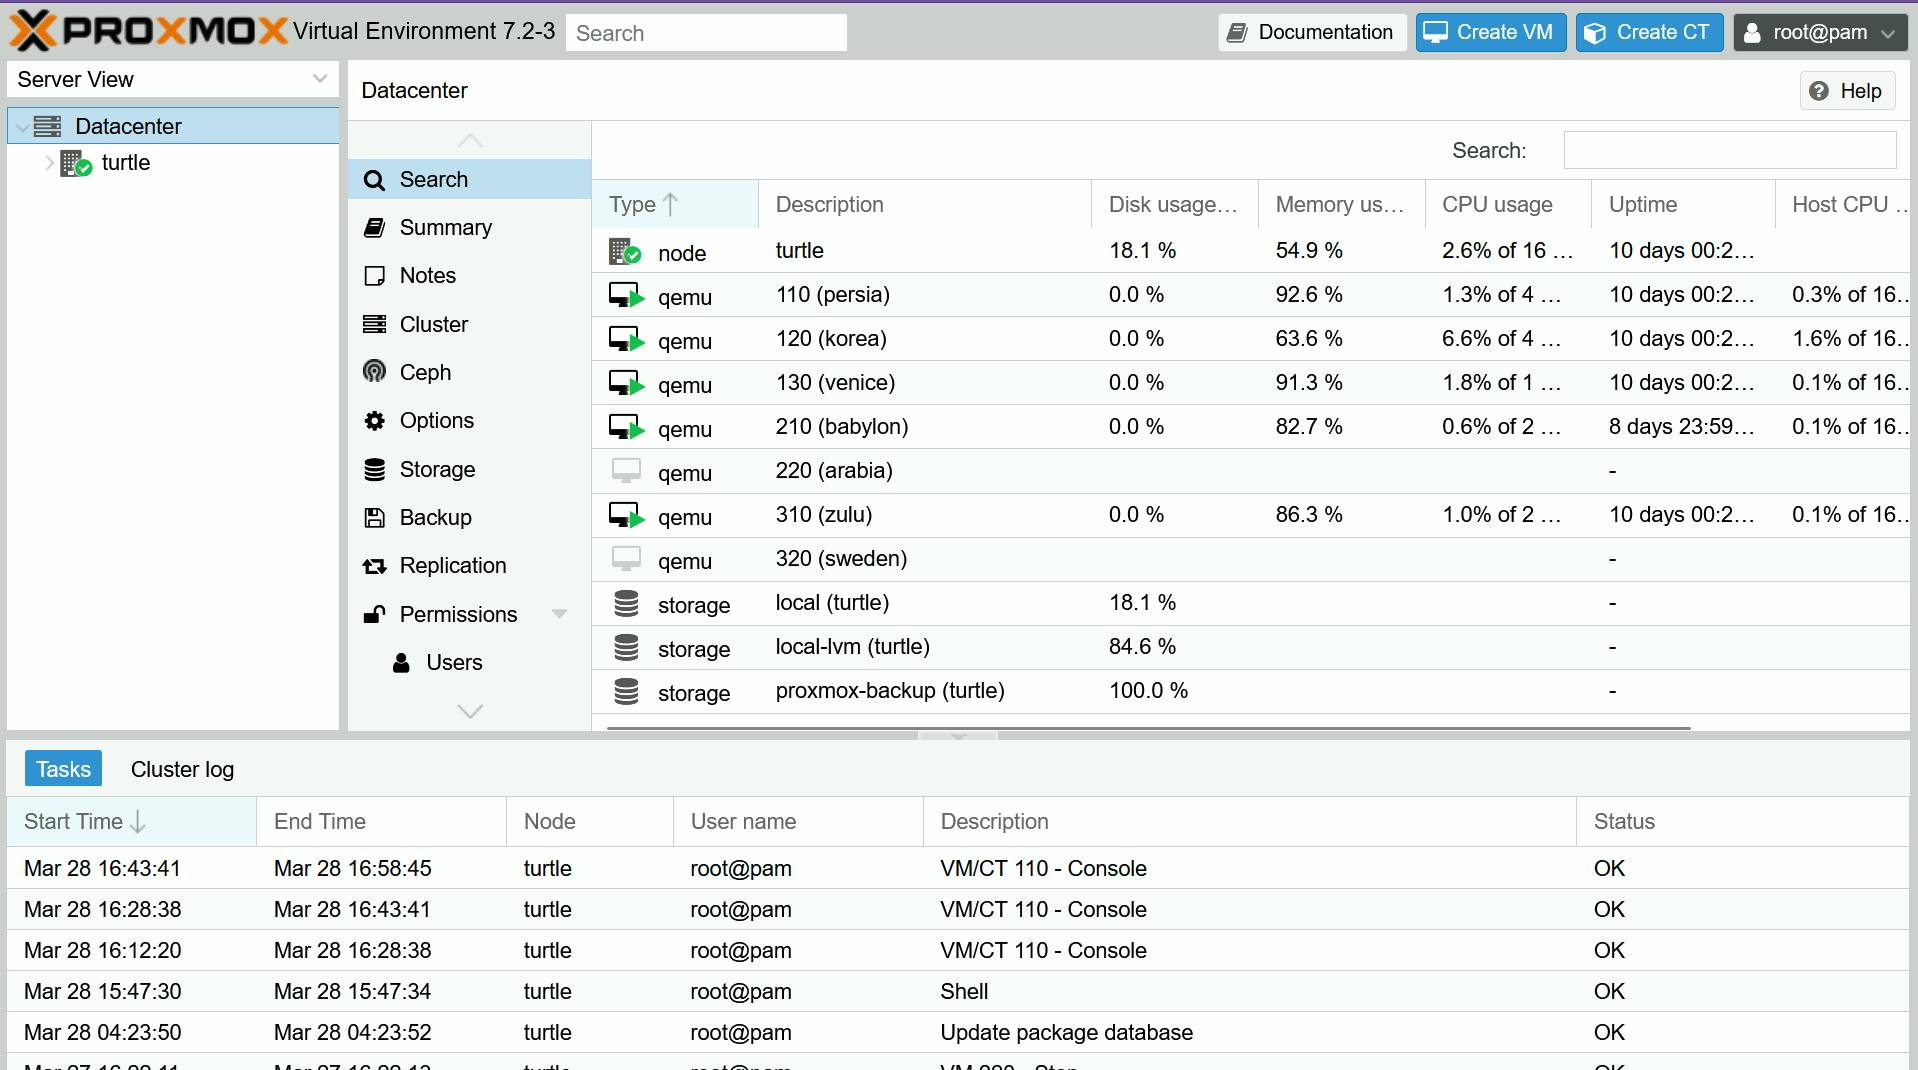
If all went well, you should be able to access the web client from your web browser on another computer! It should now look something like this:

There's a lot of settings, and we'll go over them in due time. For now, here's a list of the most important tools and metrics:
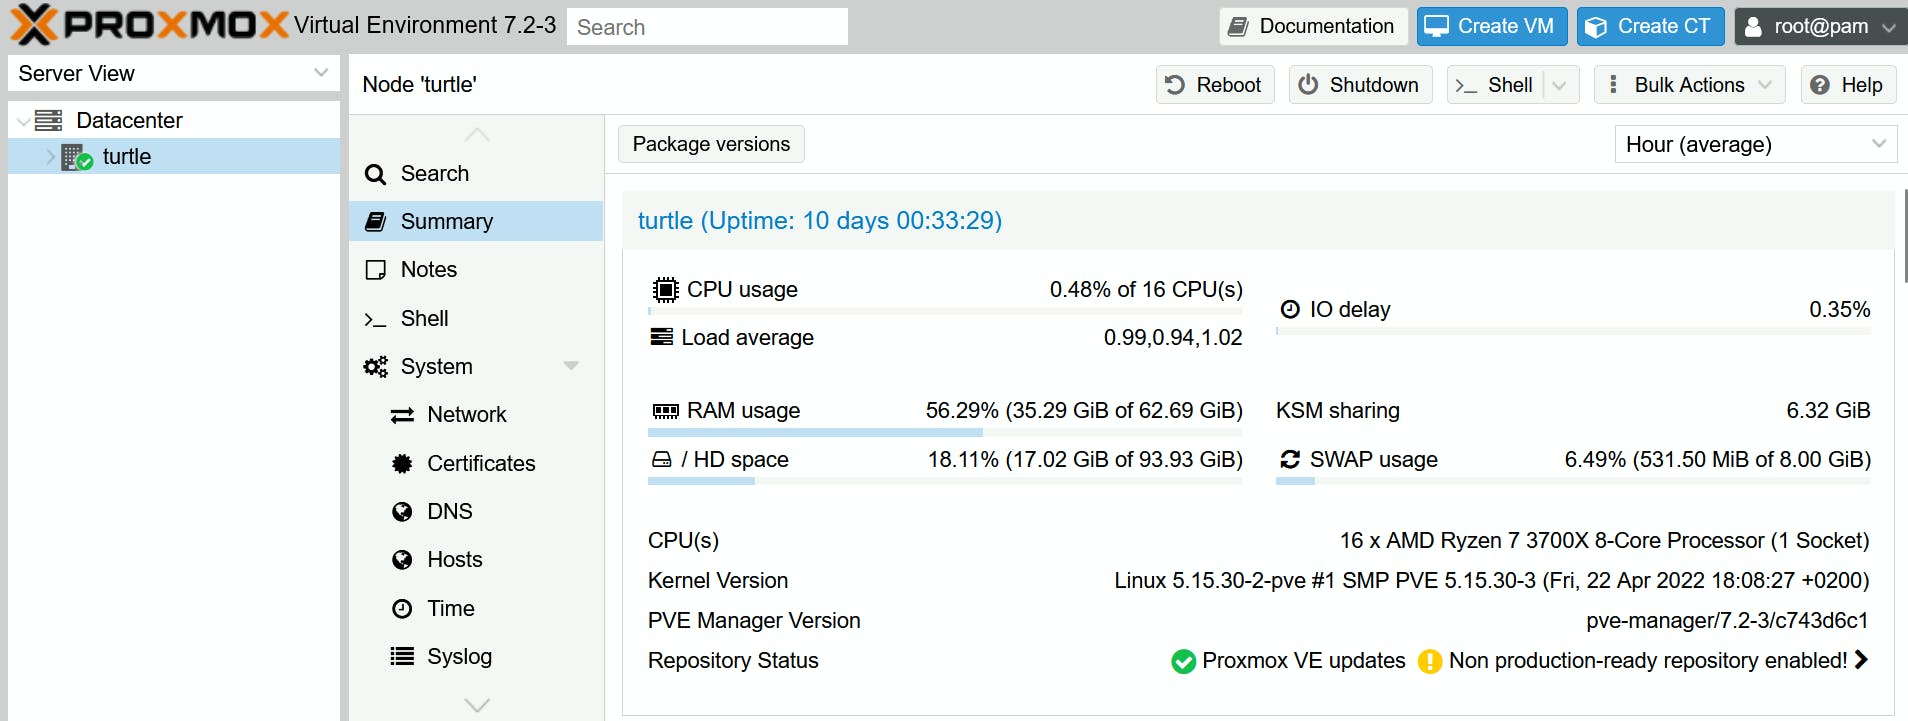
On the top left, you should see a "Datacenter" tab, followed by your node. If you click on your node, you should then be able to see some basic information about it in the "Summary" tab:
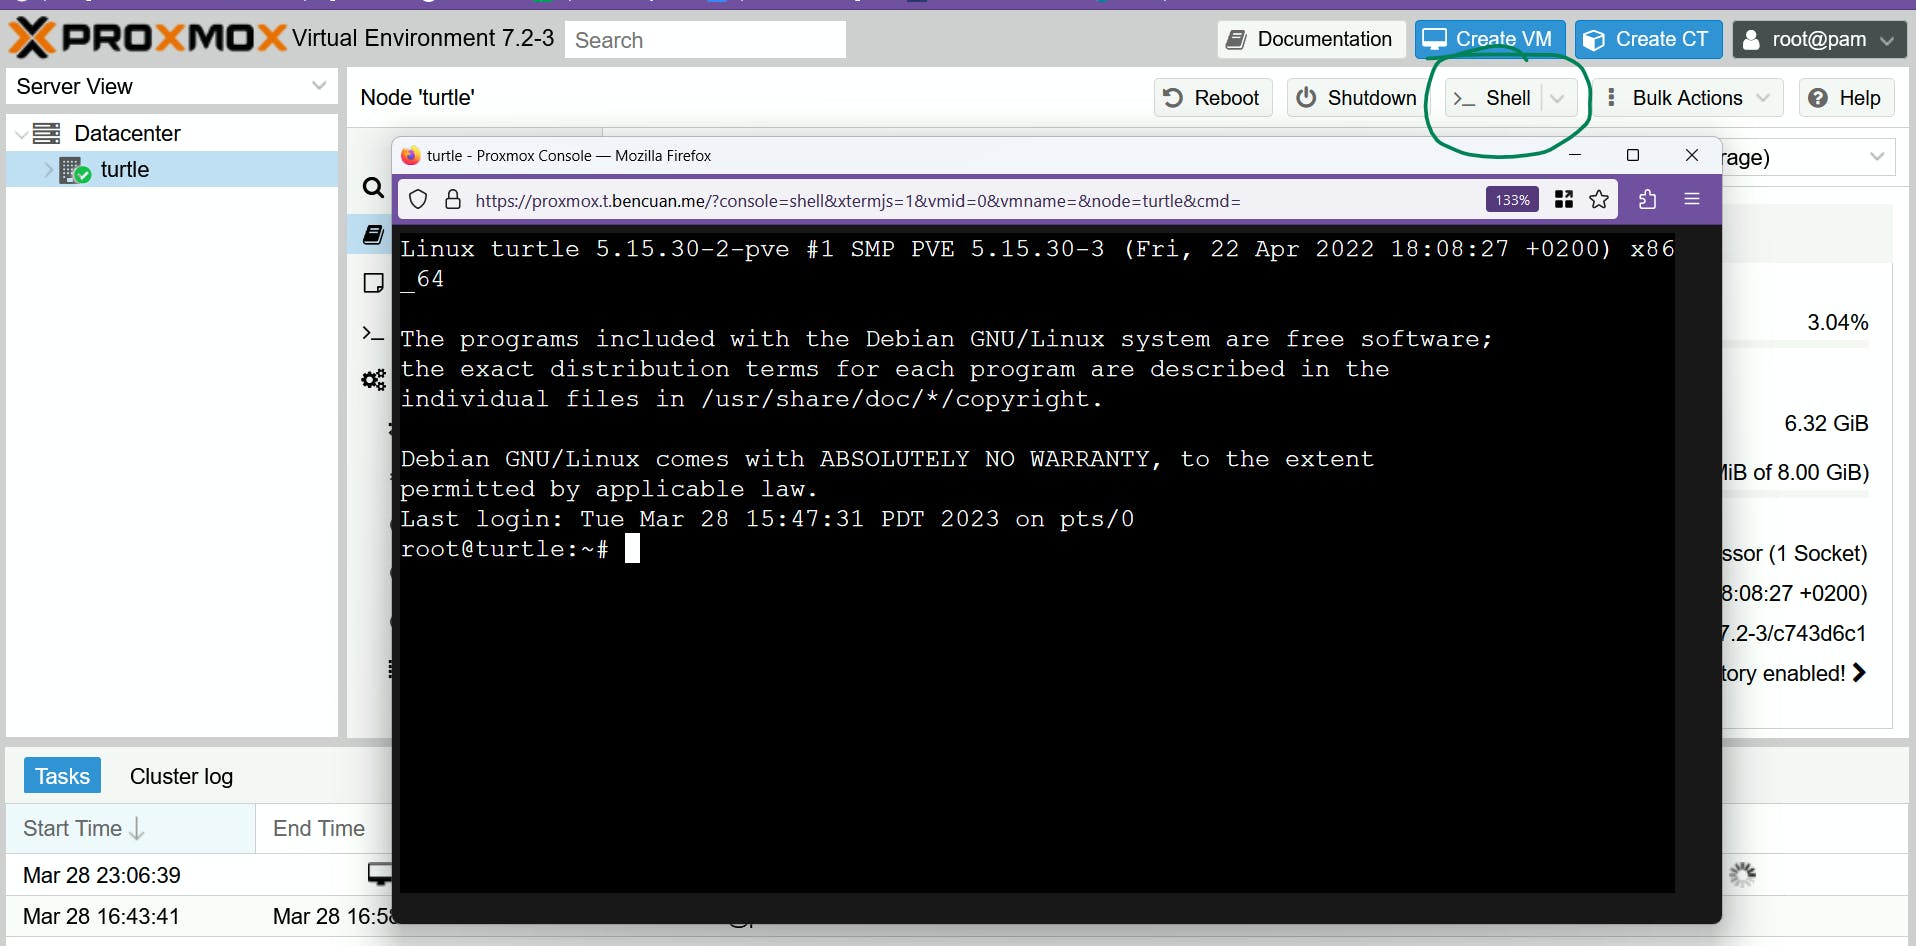
If you need to access the shell to enter commands, you can do so by clicking on your node, then selecting the "Shell" option in the sidebar (this is functionally equivalent to SSHing into your Proxmox machine from another terminal):
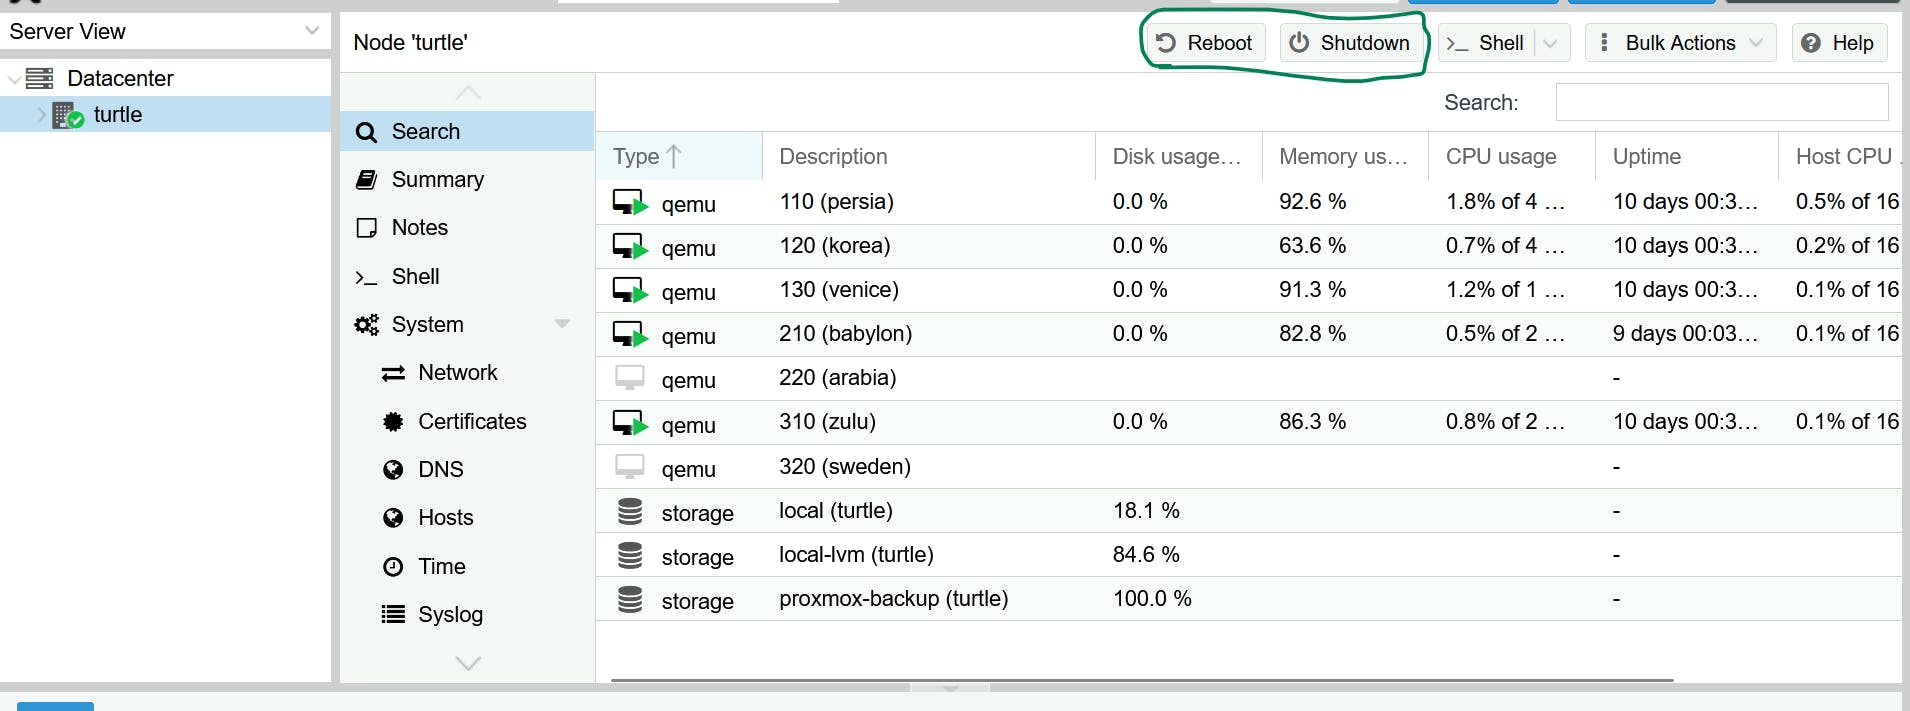
The reboot/shutdown options are available in the "Search" tab:
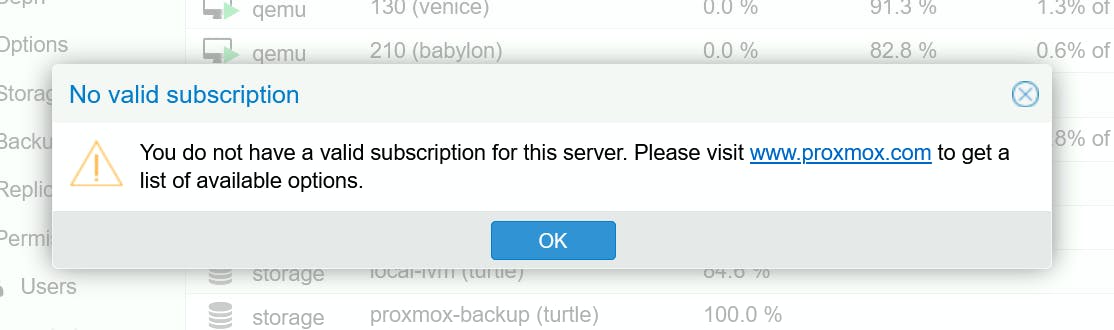
The first thing you will likely need to do is disable the paid Proxmox repositories by going to your node -> updates -> repositories. You will still be able to get the latest updates, but Proxmox has extended features and security updates that are exclusive for businesses or other paying customers. As hobbyists, using the free repositories are perfectly fine.
You'll also get a popup every time you log in notifying you that you don't have a subscription. This is also a side effect of the above, and there are ways to disable this popup if you find it annoying.
Creating your First VM
Now, we're finally ready to make some virtual machines!
You can choose to run practically any operating system on a virtual machine. Typically, most VM's run some form of Linux, but it's fairly common to run Windows or even Mac VM's depending on your use case.
Regardless of which OS you desire, you'll need to acquire the ISO and download it to the /var/lib/vz/template/iso folder. Here are the steps:
Find the ISO online. For example, the Ubuntu Desktop ISO can be downloaded from this link.
Open the Proxmox shell and navigate to the correct folder:
cd /var/lib/vz/template/isoDownload the ISO using
wget,curl, or some similar command. For Windows ISO's, make sure you surround the link in quotes in the command since it has spaces.
Naming/Numbering Schemes
Although this is completely optional, it's fun to come up with a cohesive naming scheme for your VM's so that it's easy to keep track of them (and come up with names in the future)! As an example, I name my VM's after popular civilizations from the game Civilization V (babylon, arabia, persia, and so on). Some other ideas just to throw them out:
names of famous scientists/people from a particular field
names of elements (if sufficiently heavy, could even correspond to your VM ID's)
any category (animals, cities, cars) but in alphabetical order
Less optional and more important is the numerical ID's you will need to assign to your VM's. Each VM will have a unique ID number, which cannot be changed after creation. You can choose to assign these ID's in any way you wish, but it's helpful to group them together in some way. As an example, my VM's starting with 1 host critical services (like DNS and NAS), those starting with 2 host external services, and those starting with 3 host internal services.
VM Options
Now, let's begin the creation process by hitting the "Create VM" button:
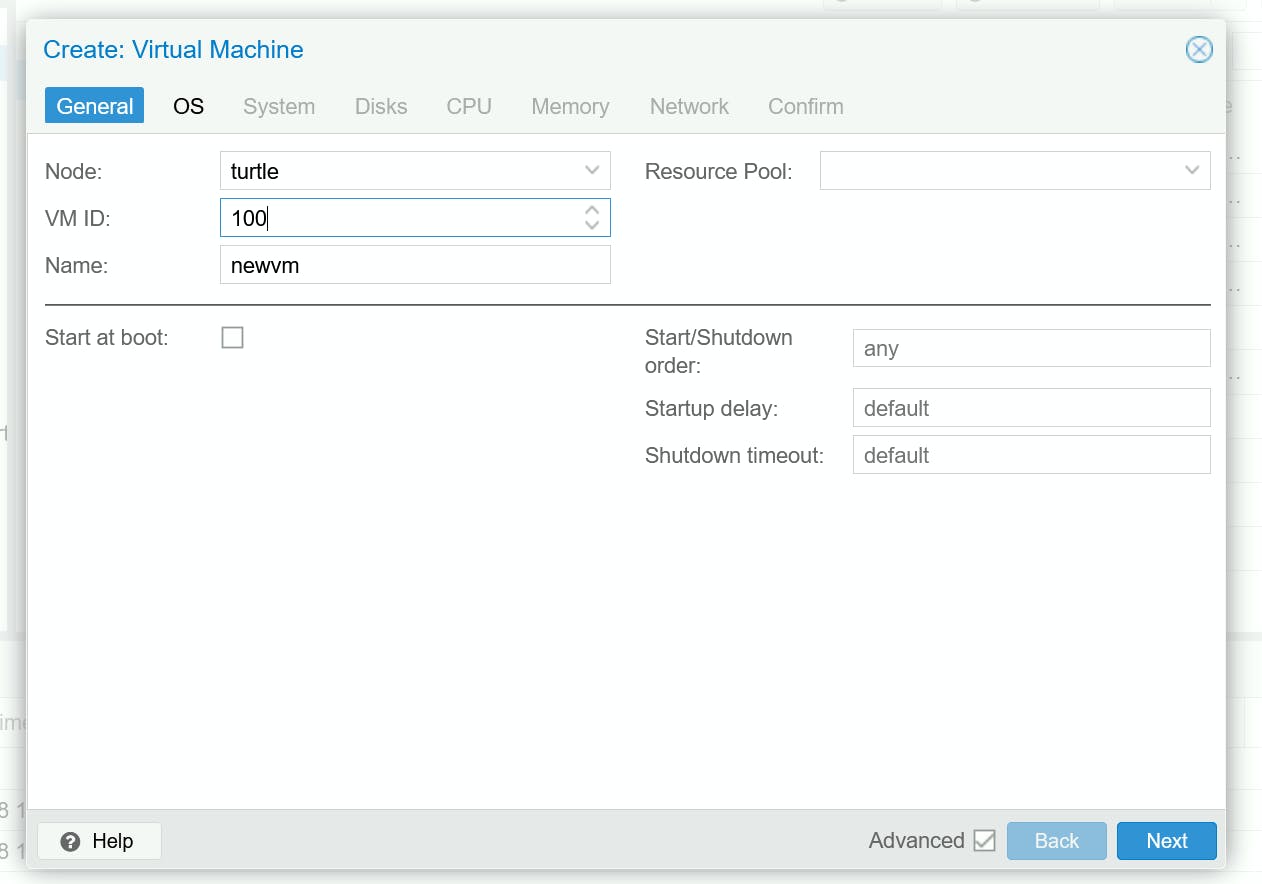
You'll first need to assign the VM name and ID. Remember that the ID can't be changed, so make sure it's correct!
You might also want to select the "Start at Boot" option if you want the VM to automatically start when the server starts.
Next, go to the "OS" tab and select the ISO you just downloaded. Make sure that the "Guest OS" settings match the type of operating system that you're installing.

For the "System" tab, let's leave everything at default for now. We can change this later if we want to do something fancy like GPU passthrough.
For the "Disks" tab, specify how much space you want this VM to take up. From personal experience, 32GB is enough for a small number of basic server tasks, and 64-128GB is a safe bet if you're planning on doing a lot on this VM. You don't need to change any of the other options if you're not sure what they do.

For the "CPU" tab, specify how many cores you want to dedicate to this VM. If your CPU supports hyperthreading (nearly all modern CPUs do), a "core" in Proxmox is equivalent to one "CPU thread". So, a 4-core, 8-thread CPU would have 8 "cores" available to assign to VMs.
For the "Memory" tab, specify how much RAM you want to dedicate to this VM. You can select the "Ballooning Device" option for most applications, which will reserve memory when needed rather than eating up the whole block when the VM boots up.
That's pretty much all you need to do for now! Go to the "Confirm" tab and ensure all of the options are what you want. Then, click "Finish", and after a few seconds your new VM should appear in your server node!
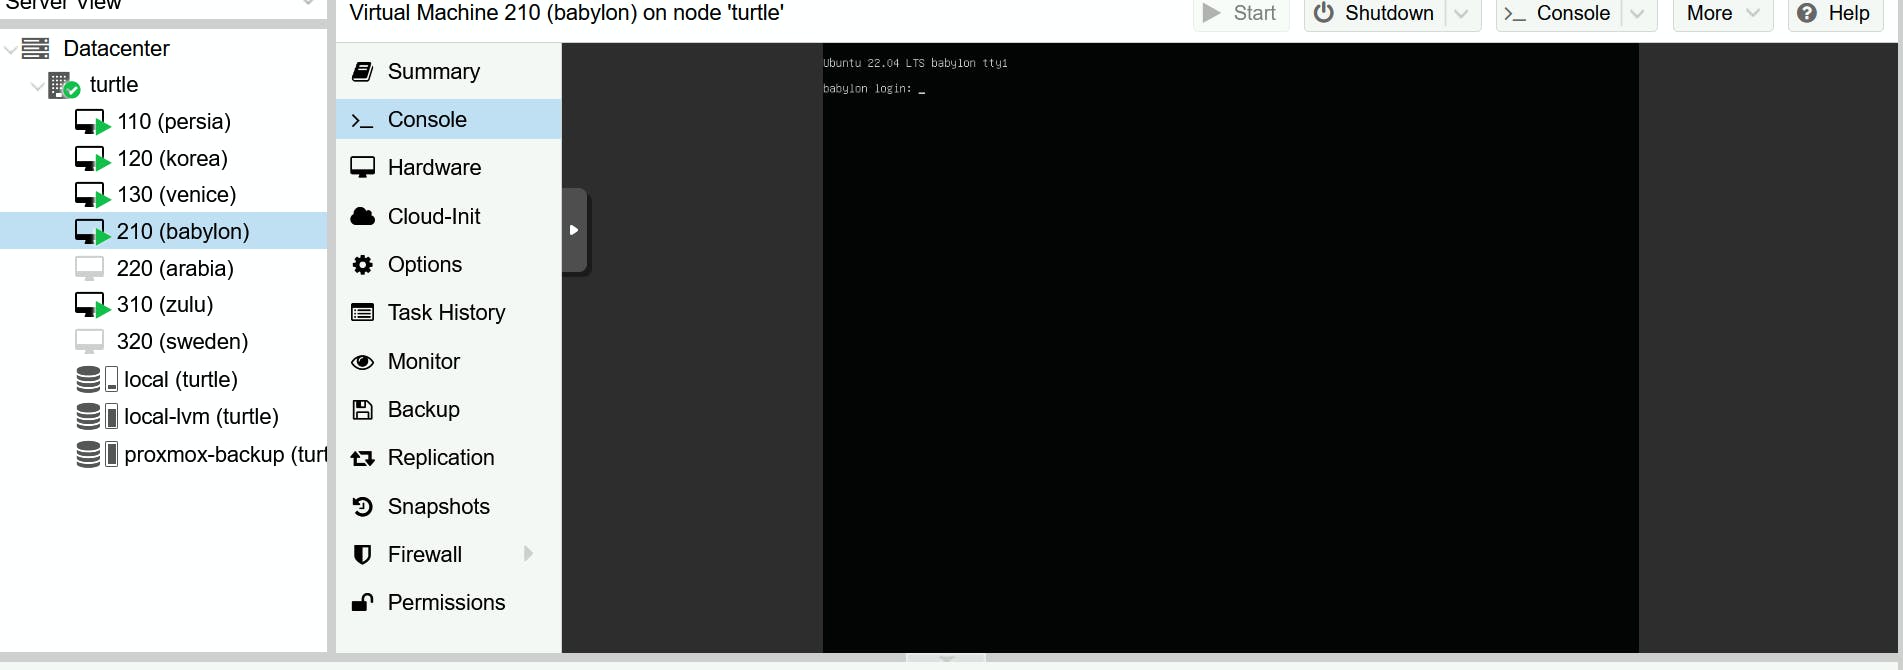
You can start the new VM by right clicking it in the sidebar and selecting the "Start" option. You'll probably need to go through initial setup similar to what you did for Proxmox itself, which can be accessed in the "Console" tab:
Summary
Congrats, you now have a working Proxmox instance that's hosting a virtual machine! While it doesn't really do much of anything yet, we'll get started on installing services on it right away.
If you're interested in adding a GPU or other devices to the VM, you can proceed to the next mini-section. Otherwise, move on to Part 3!